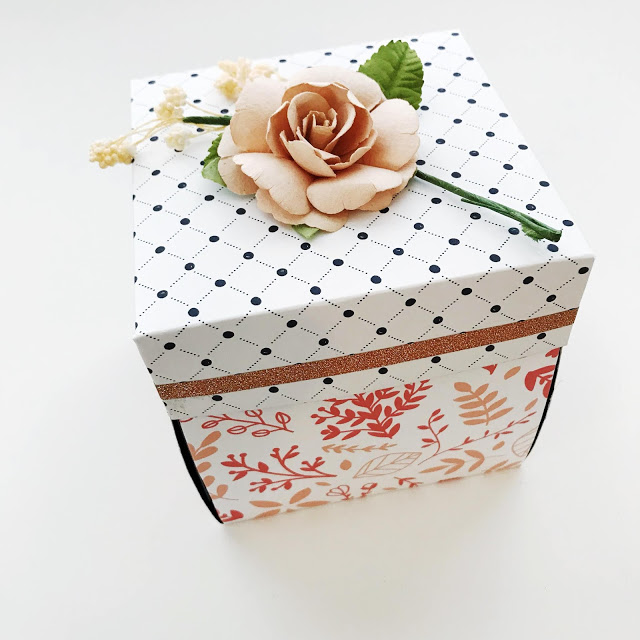
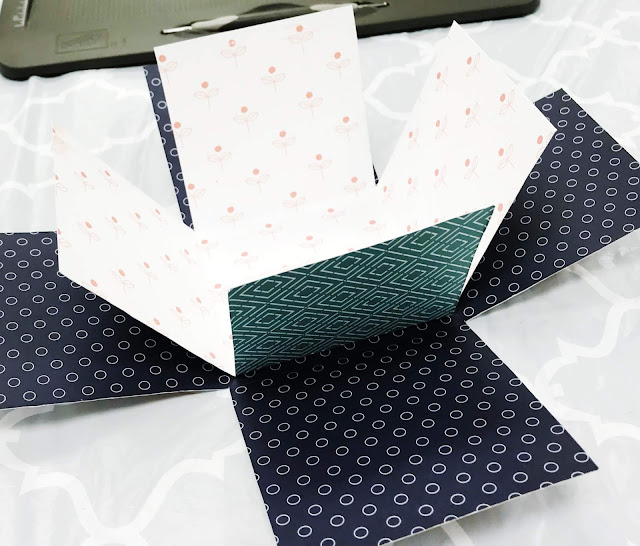
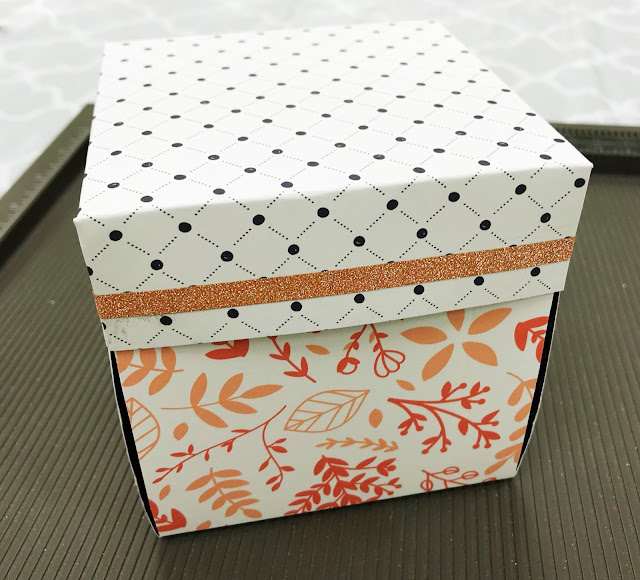
We made an explosion memory box at our monthly art class today. What is in this box? I'll show you!
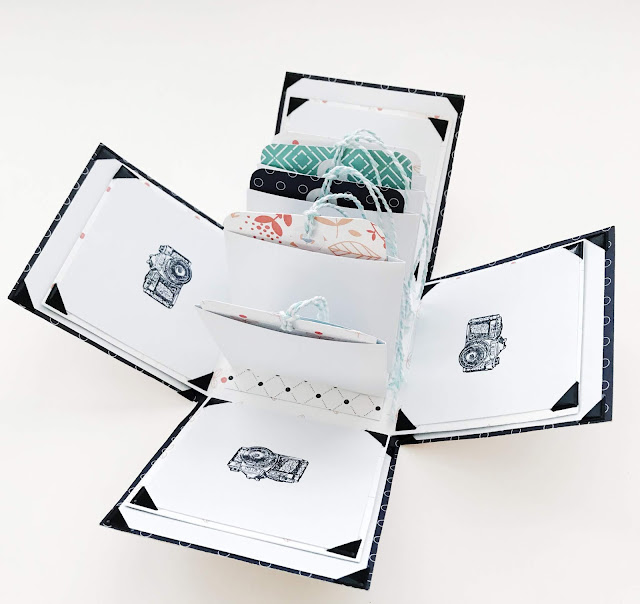
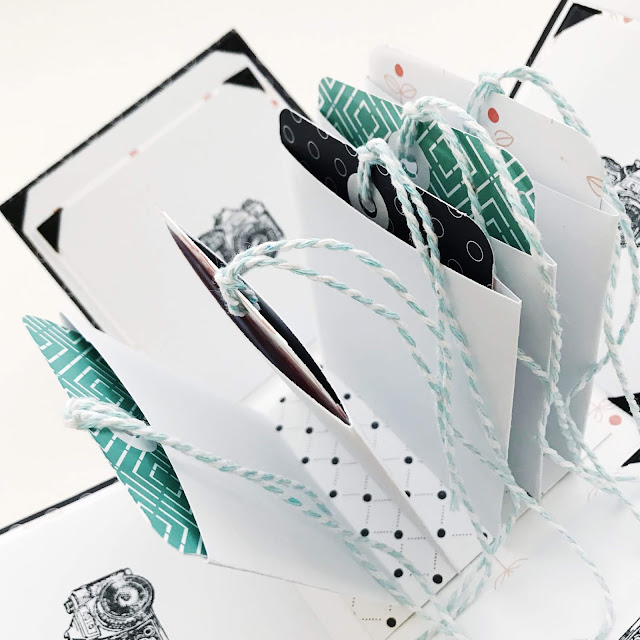
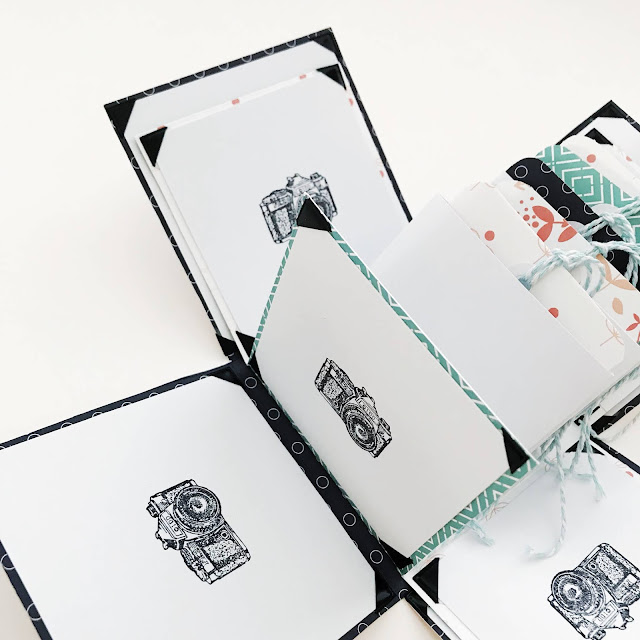
When the lid is removed, the 4 sides open to eight flaps (2 on each side) that can hold photos. There is room for tags, notes, concert tickets, etc. in 5 little pockets on the bottom. I'll show you how we made it.
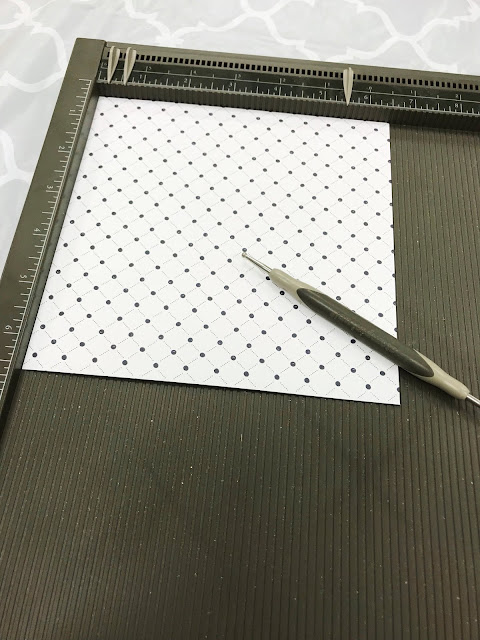
We started with two 12" x 12" pieces of heavy two-sided cardstock. After trimming the first piece and making fold lines with the scorer and stylus (seen below), we cut out the 4 corners.
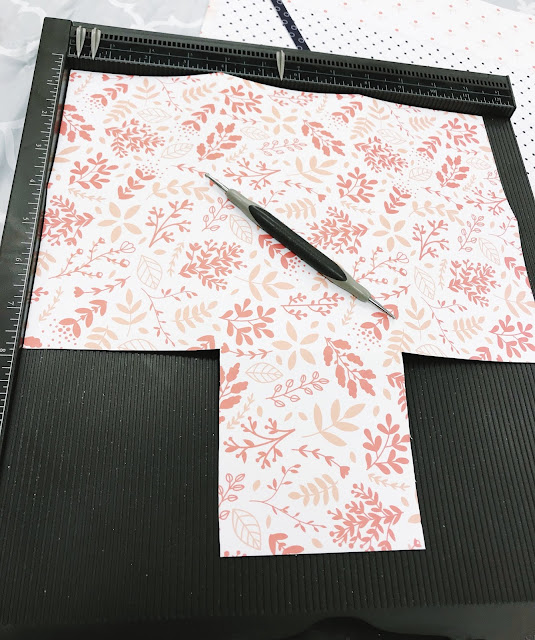
The second piece was made just like the first, but a bit smaller.
We glued the smaller piece inside the larger piece.
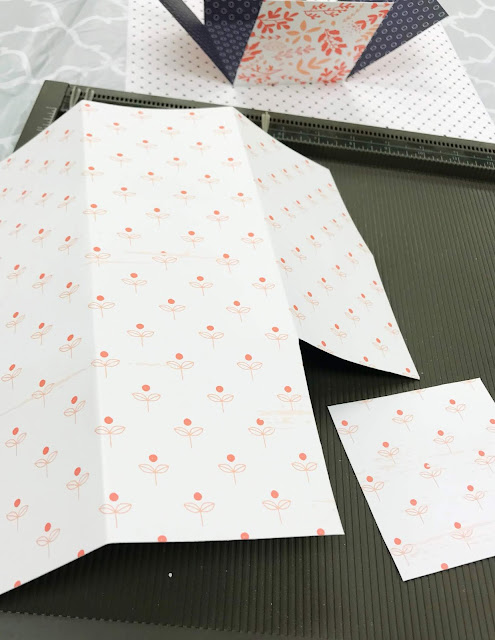
We put that part aside and made the lid (photo below). With a 6 1/2" x 6 1/2" piece of cardstock, we made score marks on it...
trimmed the corners...
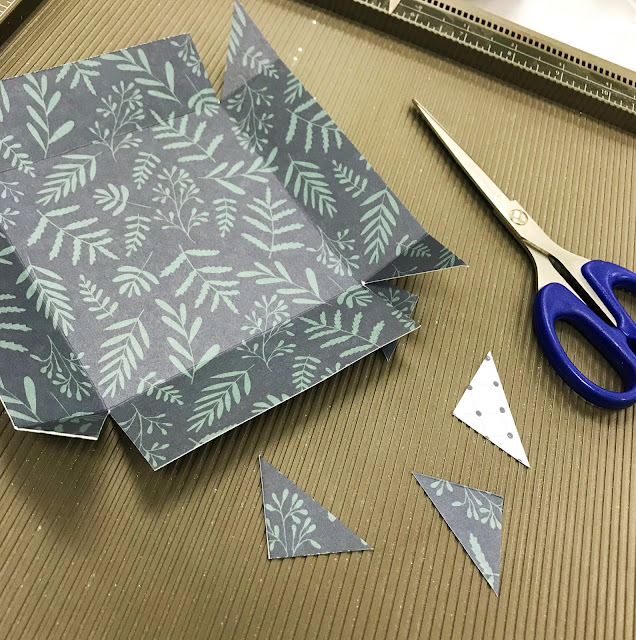
and glued them together.
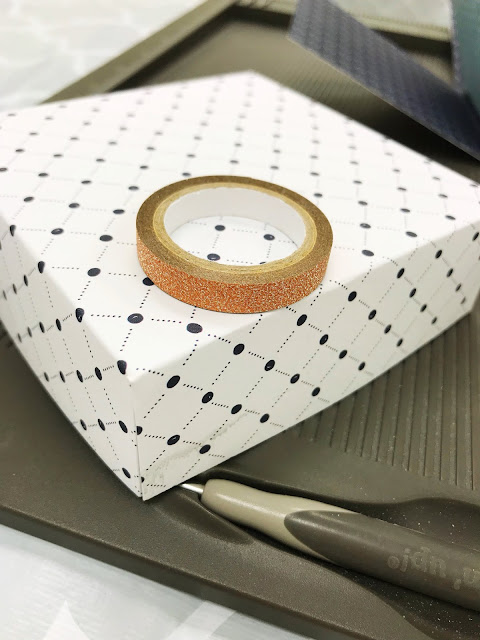
We decorated the lid with Washi tape which also will give extra support to hold to the corners
together.
Thank goodness for instructions!
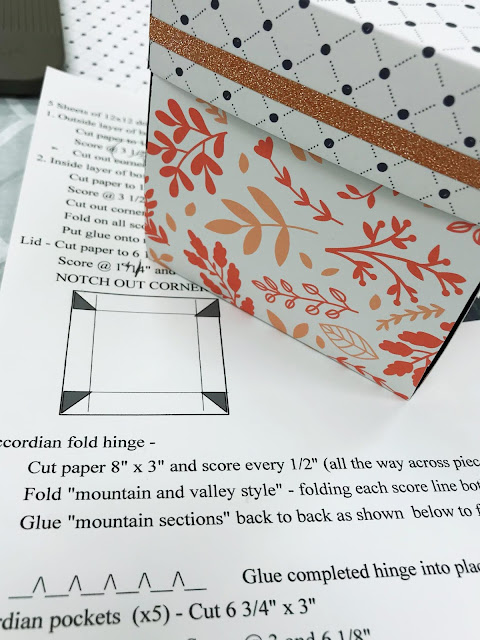
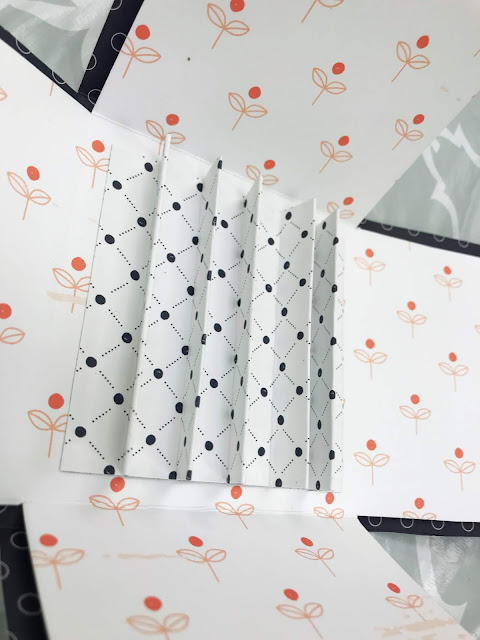
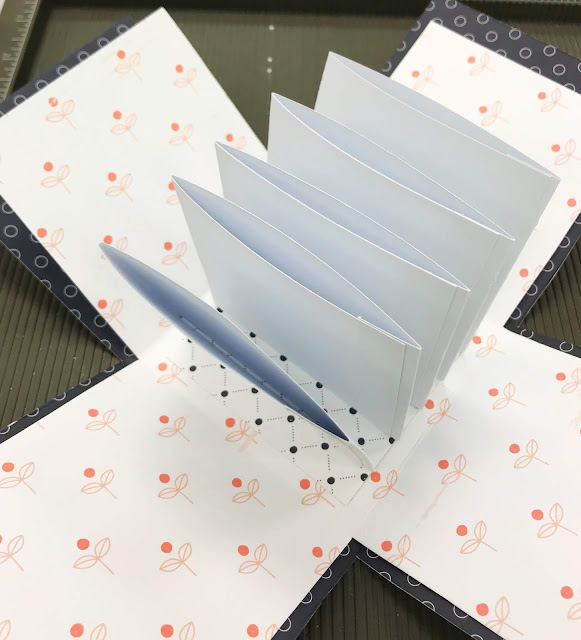
Then we made this really cool inside piece called an "accordian fold hinge".
We made pockets, applied glue to the hinges and slid the pockets onto the hinges.
We made tags, rounded their corners, punched holes, and added twine.
Photos can be added later by removing the white papers with cameras on them and inserting them into the photo corners.
I imagine I will be making more of these explosion memory boxes. I was happy to learn how to make the accordian fold hinges as I think they can be used in other projects.
********
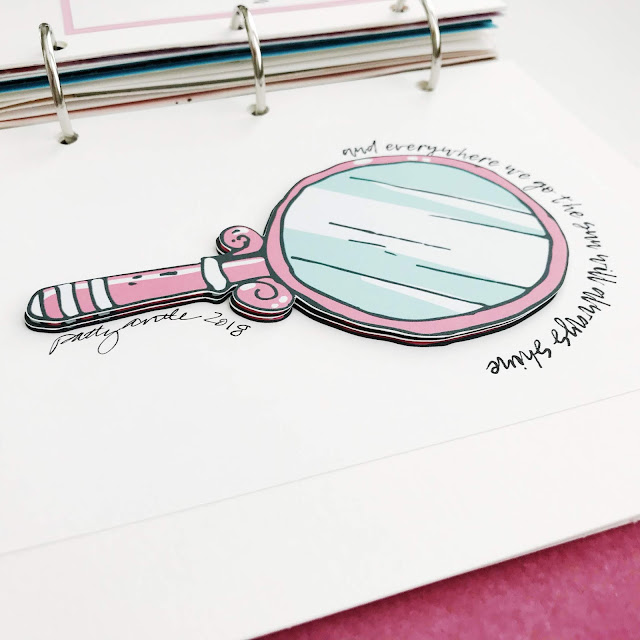
Each month we complete a page in a circle journal that belongs to a fellow member of the group. This month I was to make a page that included a positive saying. What came to my mind was Christina Aguilera's song "Beautiful". So I typed up some of the lyrics for the left page. On the right, I printed and cut a mirror with more lyrics "and everywhere we go the sun will always shine", so that my friend can see how beautiful she is.
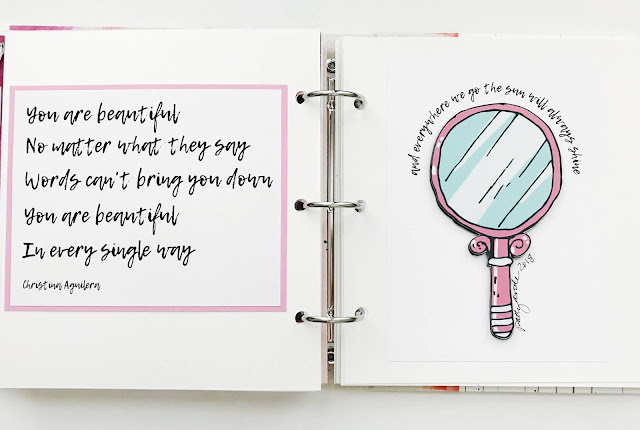
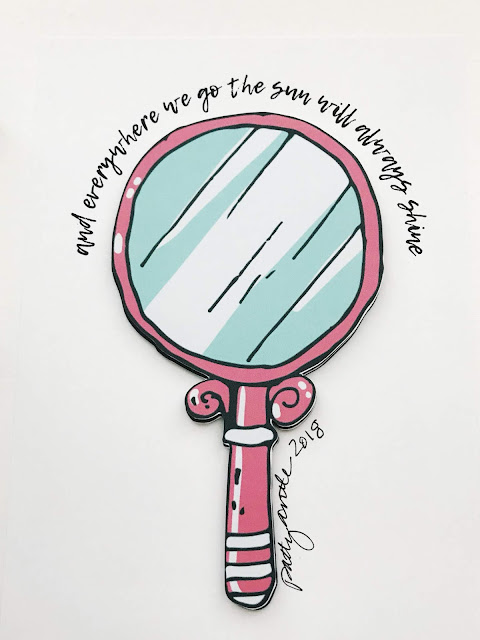
I made 3 layers of the mirror with foam adhesive pieces to add interest and texture.
I am actually caught up on my blogging for once! Woo hoo!